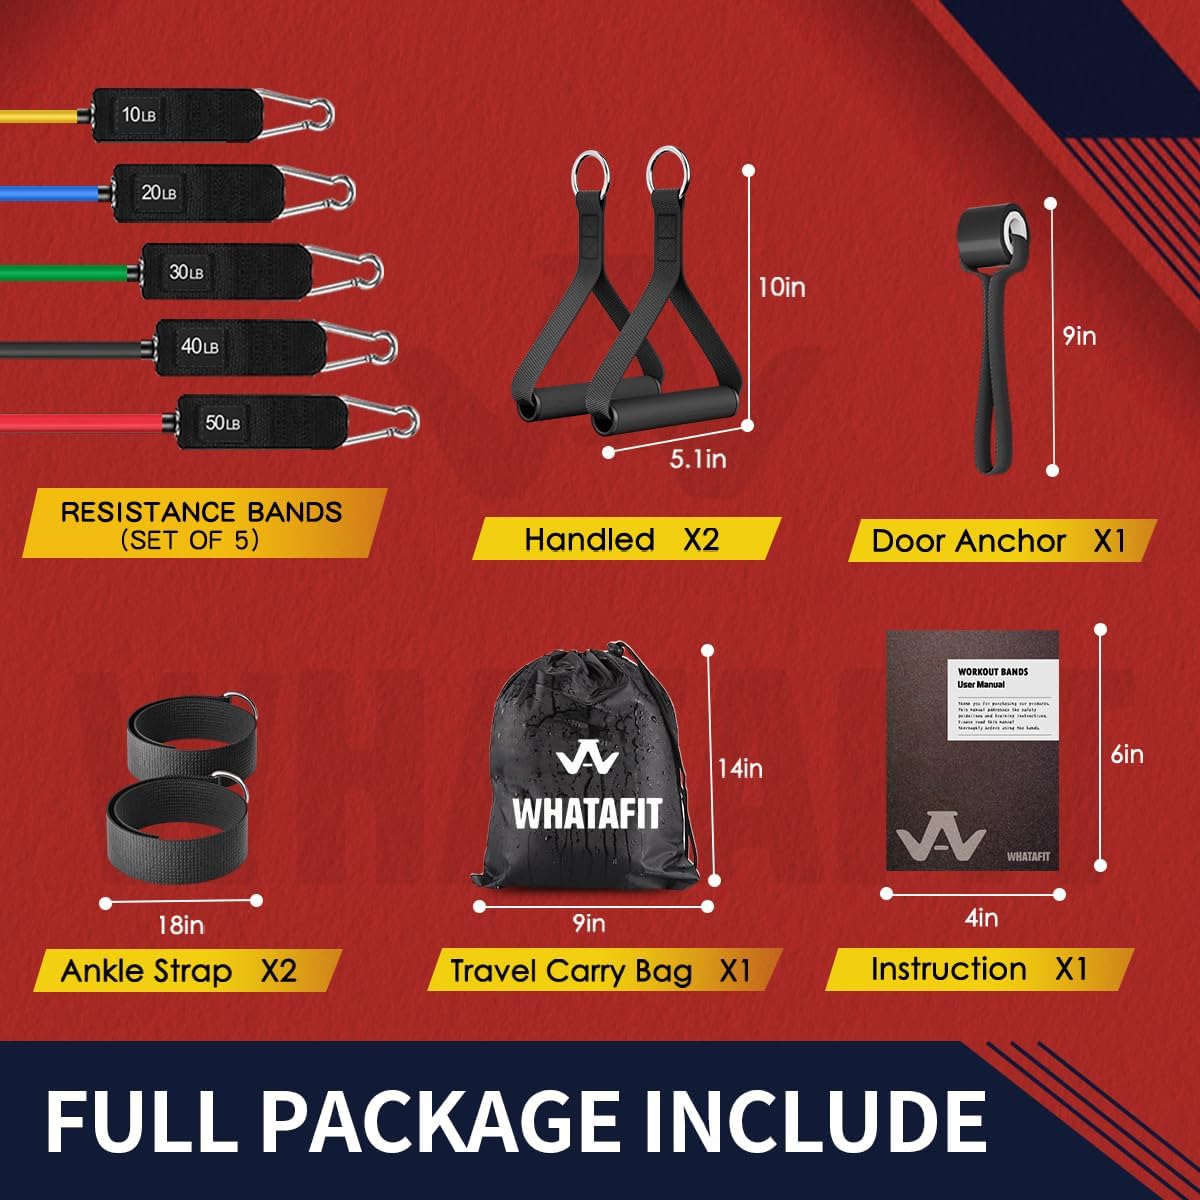
Resistance bands are flat or tubular lengths of rubber — or latex — that create force against you the more you stretch them. Unlike dumbbells, the resistance increases as you move through a rep, which changes the training stimulus in ways that can benefit both strength and rehab work. If you’ve been training for a year or more and still treat bands as a warm-up afterthought, this guide is the reset you need. Under $100, you can build a legitimately complete kit that handles loaded pull-aparts, hip activation, assisted pull-up progressions, and banded deadlift overload — if you buy intentionally. This article maps exactly which bands to buy, in which order, at which price points, and why — so you leave with a decision, not a list of options.
Why Most “Starter Kits” Underdeliver — And What Yours Actually Needs
The $20 “41-piece set” you’ll see across most major retailers is not a training system. It’s a marketing photo. The bands are typically untested for tension consistency, the clips fail at moderate load, and you end up with five bands that all feel vaguely the same. Barbend’s 2025 resistance band roundup explicitly flags tension inconsistency as the primary failure mode in budget sets — bands labeled “medium” from different manufacturers can vary by 10–40 lbs of resistance at identical extension lengths.
A serious kit needs four things:
- Measured tension ranges you can trust — ideally from a brand that publishes resistance curves (force at 50%, 75%, and 100% elongation)
- Format variety — loop bands (also called “monster bands” or “41-inch bands”) for compound lifts, mini loop bands for hip/glute work, and at least one set of handled tube bands for upper-body isolation
- Progressive gap coverage — you want meaningful jumps between bands (roughly 10–20 lbs at working range), not ten bands clustered in the same zone
- Durability signals — layered or dipped latex construction rather than single-pour, and stitched rather than heat-welded fabric bands if you’re buying those
Here’s what that looks like in a real budget.
The $100 Build: Three-Layer Stack with Named Picks
Think of your kit as three functional layers, each solving a different movement pattern. Spend your $100 here with intention.
Layer 1: Loop Bands for Compound Work (~$30–$45)
What they are: Long, flat loops — typically 41 inches in circumference — used for assisted pull-ups, banded squats and deadlifts (accommodating resistance, meaning the band adds load at lockout where you’re strongest), and mobility stretching.
Best value pick: WODFitters Loop Bands (4-pack, approximately $28–$35 at major retailers in 2026). Across aggregated owner reviews, WODFitters bands get consistent marks for latex quality and color-coded tension labeling. Reviewers at Barbend note that the stated resistance ranges — roughly 10–35 lbs (red), 25–65 lbs (black), 50–125 lbs (purple), 65–175 lbs (green) — align reasonably well with independent pull tests, which is more than can be said for many competitors in this price tier.
If you want to spend slightly more: The Rogue Fitness Shorty Monster Bands ($28–$72 per band) are the standard for serious barbell work, particularly for adding accommodating resistance to deadlifts and squats. For a sub-$100 kit, one Shorty Monster Band in the light or average resistance range ($28–$40) can anchor your compound work while WODFitters handles the rest.
What to skip: Single-band purchases under $8 labeled “heavy” with no published resistance curve. Perform Better’s product documentation explicitly states that resistance output is meaningless without a specified elongation percentage — a band’s resistance at 50% stretch is entirely different from its resistance at 100%, and brands that don’t publish both numbers are telling you something.
Layer 2: Mini Loop Bands for Hip and Glute Activation (~$15–$25)
What they are: Short, wide loops — typically 9–13 inches long — worn above or below the knee for exercises like lateral band walks, clamshells, glute bridges, and terminal knee extensions (TKEs, where you bend and straighten your knee against resistance to train the quadriceps and stabilize the joint).
Best value pick: Perform Better’s Mini Bands (set of 4, approximately $18–$22). Perform Better publishes actual resistance specifications — their light band sits at roughly 3–5 lbs of resistance at minimal stretch and climbs from there — which is exactly what you want for progressive loading. APTA clinical practice guidelines on resistance band rehabilitation consistently reference Perform Better and TheraBand as benchmark brands for this format, which matters if you’re working around a hip or knee issue.
Fabric vs. latex: Fabric mini bands (like those from Undersun or WODFitters) don’t roll or snap against skin, which owners consistently report as a meaningful quality-of-life advantage for high-rep hip work. They run ~$20–$28 for a 5-pack. Tradeoff: fabric bands are harder to disinfect and lose elasticity faster if stored under tension. For a home gym where you’re the only user, fabric is fine. For a shared setup, latex wins.
Layer 3: Handled Tube Bands for Upper-Body Isolation (~$25–$40)
What they are: Rubber tubes with plastic or foam handles, used for rows, chest presses, curls, and overhead work — movements that need a grip anchor rather than a loop.
Best value pick: Bodylastics Stackable Resistance Bands (starter set, approximately $30–$40). Bodylastics publishes individual band tension ratings and their stackable clip system is one of the better-documented in the under-$50 category. Barbend’s Bodylastics review (2024) notes that the anti-snap safety cord inside each tube — a design feature that prevents full recoil if a band breaks — is a genuine differentiator at this price point, not a marketing claim. Owners consistently report that the clip integrity holds across moderate stacking loads (up to three bands combined).
What to skip: Single-resistance tube bands with non-removable handles. You want stackability. Without it, you’re buying a new set every time you need more resistance.
By the Numbers: A $100 Kit That Actually Works
| Layer | Product | Format | Approx. Price | Resistance Range |
|---|---|---|---|---|
| Compound loops | WODFitters 4-pack | 41” loop | $28–$35 | 10–175 lbs across 4 bands |
| Hip/glute activation | Perform Better Mini Bands (4-pack) | Short loop | $18–$22 | 3–30+ lbs across 4 bands |
| Upper-body isolation | Bodylastics Stackable Starter Set | Handled tube | $30–$40 | 3–96 lbs stackable |
| Total | $76–$97 | Full training range covered |
The Spec Discrepancy Problem — and How to Navigate It
Here’s a real-world issue the band market hasn’t solved: published resistance specs don’t use a standardized testing protocol. Brand A might measure tension at 100% elongation (doubled from resting length); Brand B measures at 150%. This means a “30 lb band” from one brand is not interchangeable with a “30 lb band” from another.
Stronger By Science’s resistance band progression piece (authored by Greg Nuckols) addresses this directly, noting that the functional solution is to anchor your progressions to perceived effort and movement quality within a brand’s own lineup rather than trying to cross-reference absolute numbers between brands. In practice: if you’re using WODFitters for your pull-up assistance, progress through WODFitters’ color tiers rather than trying to substitute a Rogue band at the equivalent marketed weight.
Where this matters most for your kit: when you stack bands in the Bodylastics system, the resistance figures are additive within that system. Don’t mix Bodylastics tubes with clips from another brand — the diameter and clip tolerances are brand-specific, and owners consistently report fitment issues with cross-brand stacking.
Progression Logic: How to Actually Use This Kit
Owning the bands is not a training plan. Here’s a simple decision framework grounded in NSCA progression guidance:
Weeks 1–4 (Orientation phase): Use only the lightest band in each format. Establish movement quality — hip hinge mechanics on banded good mornings, scapular control on pull-aparts, stable knee tracking on lateral walks. Resistance at this stage is almost irrelevant; motor pattern is the output.
Weeks 5–8 (Loading phase): Progress to the next band up when you can complete 3 sets of 15 reps with controlled tempo and no form breakdown. The NSCA defines this as the “repetition maximum threshold” for band progressions — not a fixed poundage, but a completion standard. Note that because band resistance is highest at full extension, “15 reps” with a band is meaningfully harder than “15 reps” with a dumbbell at equivalent labeled resistance.
Weeks 9+: Begin stacking (with your Bodylastics system) or doubling loops for compound movements. At this point you’re in true intermediate territory — you’re now manipulating both band tension and exercise selection to create progressive overload, which is the actual mechanism behind long-term strength adaptation.
Decision Rules: Buy This If…
The kit described above is the right call if you match one of these profiles:
Buy the full three-layer stack (~$76–$97) if: You’re building a home gym that will see 4+ sessions per week and you want a system that can carry you from warm-up activation through loaded compound work without needing to swap equipment mid-session. This is the “done-right-once” build.
Buy only Layer 1 + Layer 2 (~$46–$57) if: Your primary training is barbell-based and you’re adding bands for accessory and activation work only. Skip the handled tubes — your bar handles that load — and put the savings toward a second WODFitters set so you have redundancy on the most-used bands.
Buy only Layer 2 + Layer 3 (~$45–$62) if: You’re in an early rehabilitation context (post-surgical or clinician-guided) where loaded compound work isn’t yet in your protocol. Mini bands and handled tubes cover the full range of standard PT progressions. APTA rehabilitation guidelines list both formats as appropriate for Stage 2 and Stage 3 post-operative strength restoration; the 41-inch loop bands are typically introduced in later-stage return-to-sport phases.
Wait and upgrade if: Your budget is under $60 total and you’re tempted to cut corners on all three layers. A one-layer kit done well (Perform Better mini bands + one quality loop band) beats a three-layer kit of unmarked, uncalibrated rubber. Tension spec integrity is not negotiable.
One final note on total cost of ownership: quality latex bands from the brands named above typically carry 1-year limited warranties against manufacturing defects. Bodylastics offers a 1-year replacement guarantee on the anti-snap system. Budget for one band replacement per year in heavy use — latex degrades with UV exposure and chalk contact — and your actual annual cost on this kit is closer to $90–$110, not a one-time $100. That math still beats a commercial gym membership for the specific training benefits bands deliver.